|
WooCommerce Integration: |
WooCommerce
If you currently use WooCommerce shopping cart, modify a few settings on WooCommerce. Once you do this, you will not have to manually input customer orders into the TrepStar.com product order form.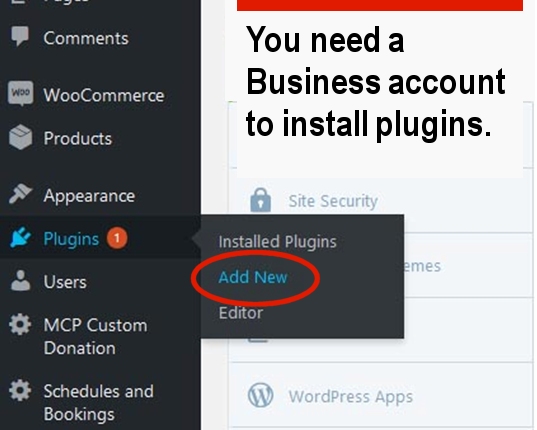
'Add New' from the Plugins menu
You need to have a business account to add plugins to Wordpress WooCommerce.
On the left column, you'll see 'Add New' to add a new plugin.
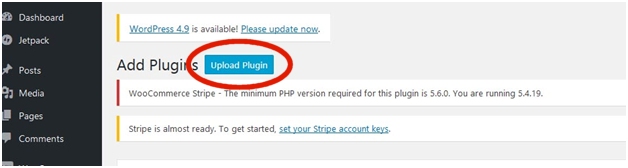
Download and Save the TrepStar Plugin
Click Here to save the WooTrepStar.zip plugin file to your computer. This .zip file is the plugin.
Save it to a place on your computer that you can easily remember because you will need to upload to WordPress in the next step.
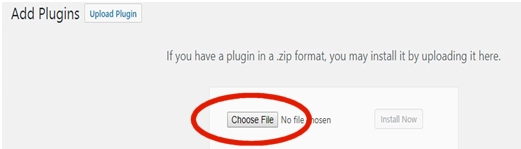
Choose the WooTrepStar.zip Plugin from your computer
Choose the WooTrepStar.zip plugin file that you downloaded above.

Activate the WooTrepStar plugin
Next, be sure to Activate Plugin.
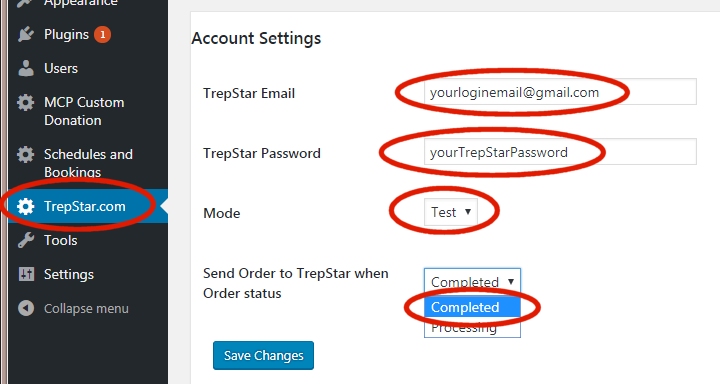
Configure the TrepStar WooCommerce Plugin
On the left column, you should see the TrepStar.com plugin. Select it and enter your TrepStar account information:
- Type in your TrepStar login email you used to create your TrepStar account.
- Type in the password you used. We need this information to make sure you are properly authenticated before orders can be submitted.
- Start out with Mode as "Test". You can test a few orders before actually having TrepStar make product. You should see test orders listed in the 'Recent Orders' section of your TrepStar account. They are shown so you can see if the information is coming into TrepStar correctly. You may delete any test orders from within TrepStar.
- Once you are confident the integration is set up correctly, switch this mode to 'Live'. At this point forward, orders the are marked 'Completed' will be sent to TrepStar for fulfillment.
- You may choose the order status of 'Completed' or 'Processing'. Depending on what you choose, the order data will be sent to TrepStar only when your new orders are marked with this status. When you view your list of orders (shown below) you can change the status to processing and/or completed.
Method 1: Set TrepStar eCommerce ID String to match existing WooCommerce SKU
Configure the corresponding product.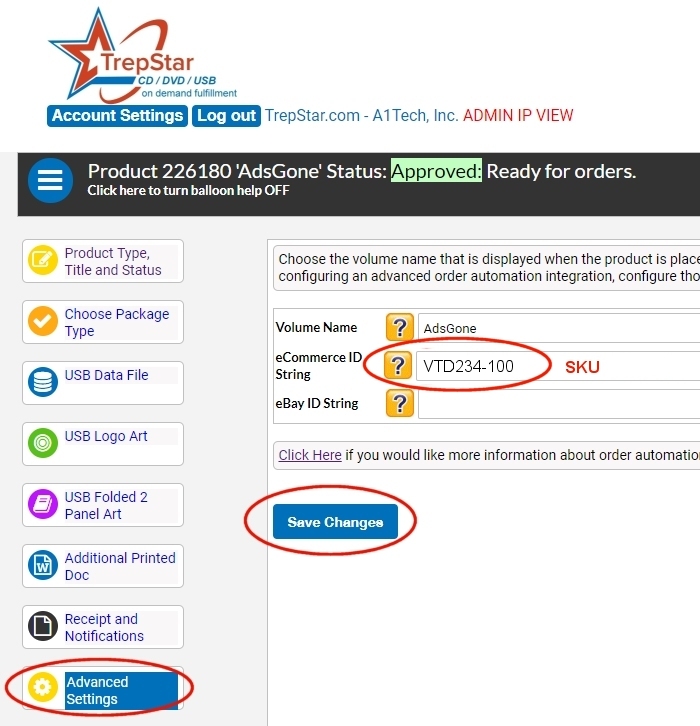
Advanced Settings
- From within TrepStar, click the 'Configure ...' link to configure the project.
- On the left column, look for the Advanced Settings Button.
- In the TrepStar "eCommerceIDString" enter the corresponding WooCommerce SKU and 'Save Changes'.
- To find your WooCommerce SKU, go to your list of WooCommerce products and configure them (edit them). Find the SKU and copy that SKU to the TrepStar eCommerceIDString.
Method 2: Configure your WooCommerce Product SKUs to Match TrepStar Project ID
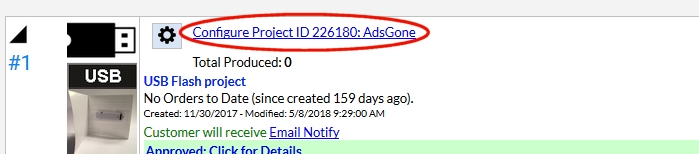
Find the TrepStar Project ID listed within the TrepStar Dashboard.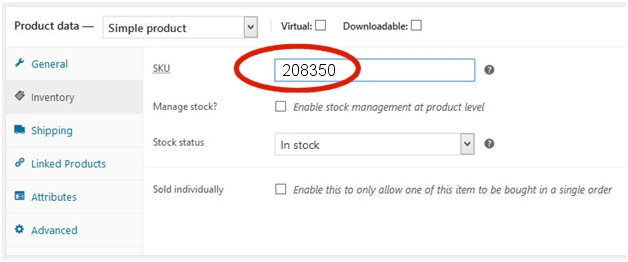
Specify WooCommerce SKU
For each of your products:
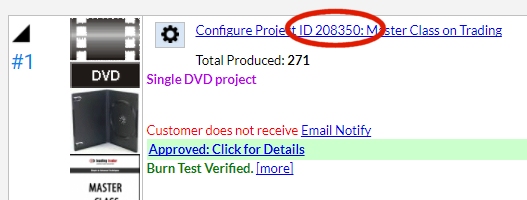
- Within your TrepStar account, find your product, and look for the Project ID. Copy it.
- Go to your list of WooCommerce products and configure them (edit them). You need to set the SKU to your TrepStar ProjectID#. This is how we know which product to make.
These examples show Project ID 208350. You would use your project ID instead.
Multiple WooCommerce Products to Single TrepStar Product
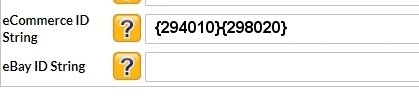
- If you have multiple WooCommerce products that are for the same TrepStar project, you may string together the WooCommerce SKU/Product numbers using curly braces {}.
- e.g. {ABC-294010}{CDF-298020}
- This would mean any orders from WooCommerce with product SKU ABC-294010 or CDF-298020 will trigger an order for this corresponding TrepStar product.
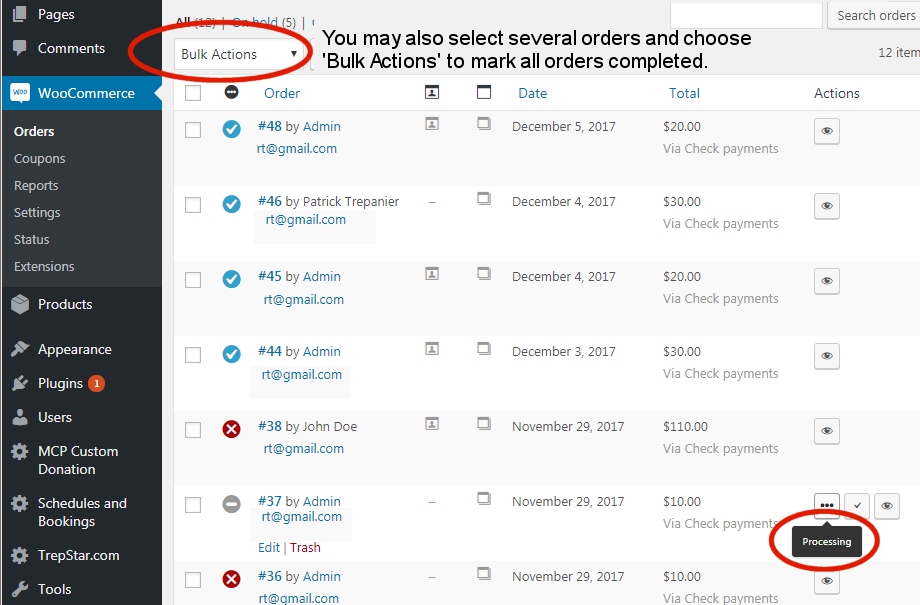
Setting orders to 'Completed'
If you're familiar with the WooCommerce list of orders, you'll
see the 'Actions' column in the right hand side.
Mark the orders to 'processing' or 'completed' depending on how
you configured the TrepStar plugin. Once the order is set to the
chosen status, the order data will be sent to TrepStar within seconds.
Click the 'Recent Orders' button from within your TrepStar account
to see those orders.